
Updated on 14 Jun 2024
VPS hosting is undoubtedly a fan-favourite. A cheaper option than a beefy dedicated server, a VPS (virtual private server) offers solid performance along with a high degree of control and resource scaling at the click of a button. From businesses large and small to ecommerce sites and gaming enthusiasts, virtual private servers offer something for everyone. So, let us walk you through how to set your VPS up.
Learn more: What is a VPS?
How to set up a VPS
There are two main types of virtual private servers on the market: managed and unmanaged. A managed VPS is largely controlled by the server provider, whilst an unmanaged VPS (like ours) gives you total control. If you're a beginner and you've chosen an unmanaged VPS, you may need some help setting it up. This might seem daunting, but we're here to help.
We’re gonna take it all the way back to basics and first run you through picking and purchasing your VPS.
1. Pick a VPS provider
Choosing the right VPS provider is the first step in getting your virtual private server up and running. There are many factors to consider before you decide, but here's why we think Fasthosts is the right choice:
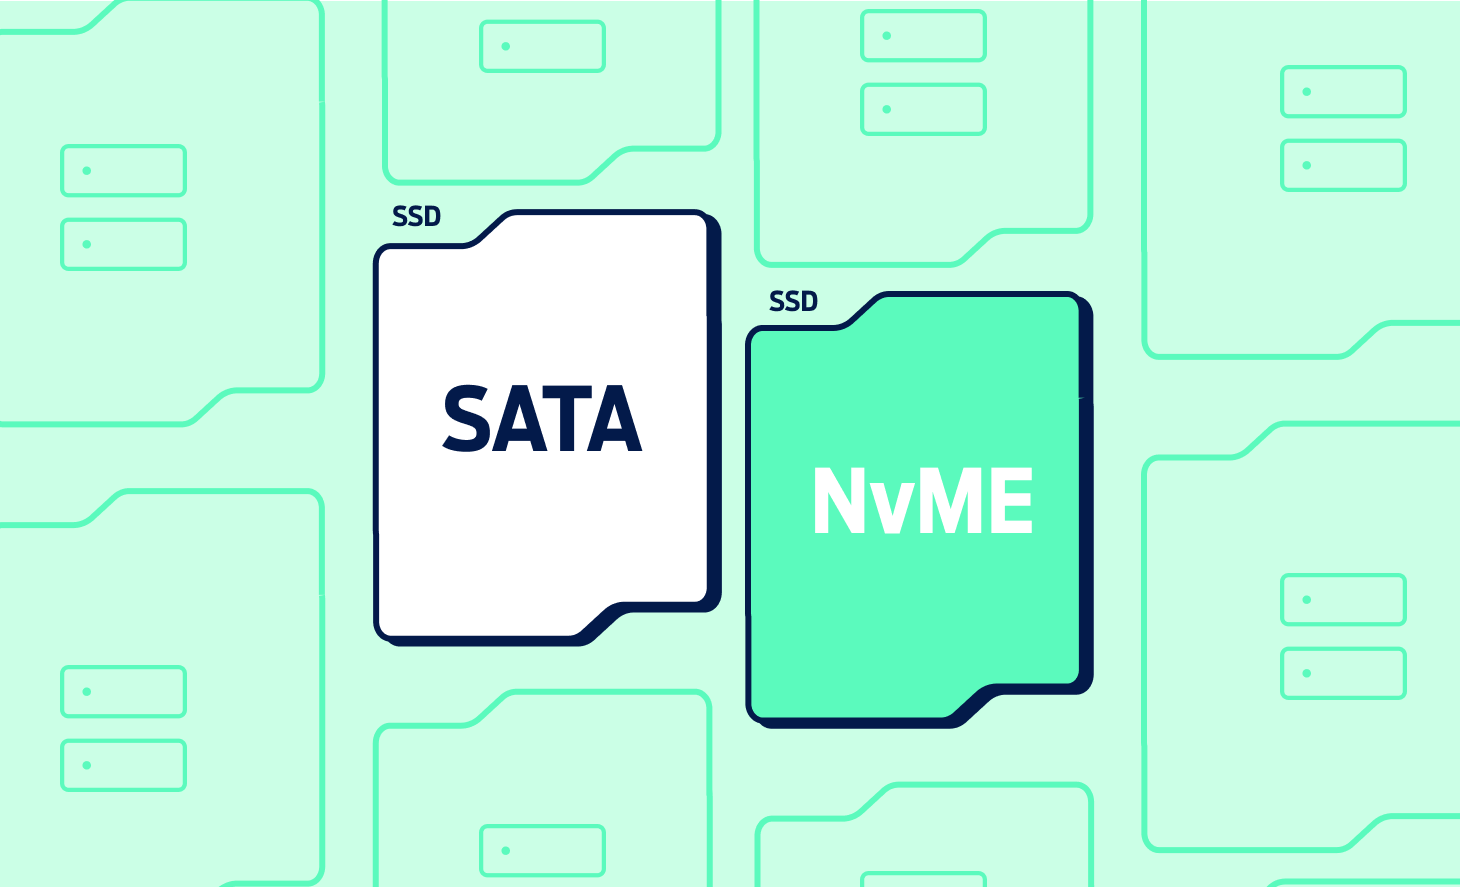
- Top-of-the-line hardware, up to 16 vCPU cores, 64GB RAM, and 1500GB NVMe storage
- Full root access for maximum control over your server
- 99.999% uptime
- Hosted in ISO 27001 and Tier IV-certified data centres
- Amongst the best value on the market
2. Choosing and purchasing a VPS
Now that you've chosen a VPS provider, it's time to pick your VPS. It's important to think about everything you'd like to do with your server, and to make sure the VPS you choose is powerful enough. This includes accounting for how much storage space, RAM, and CPU speed you'll need, as well as which operating system (OS) you'd like to choose. You’ll have to choose between two operating systems for your VPS: Windows and Linux. To help you decide, read our article on Linux VPS vs Windows VPS.
3. Connecting to your VPS
Once you’ve decided on a VPS, the next stage in getting it set up is connecting to it. There are different steps to follow when connecting to your VPS, and these depend on your chosen OS.
Windows
If you have a Windows VPS, you’ll be using the Remote Desktop tool and the steps are relatively quick to follow. The Remote Desktop Connection application will already be installed on your Windows OS, so all you’ll need to do is search for this application on your computer. Once it launches, you can enter your VPS IP address into the appropriate box – your VPS host should have provided this IP address for you as soon as your VPS was provisioned. You should have also been given a root username and password, which you’ll need to enter next. After you click connect, you’ll have administrator access to your Windows VPS and will be able to complete your setup and customisation.
Linux
For a Linux VPS, you’ll need to form a Secure Shell (SSH) connection via an application such as PuTTY, which can be a slightly longer process. SSH lets you establish a secure encrypted connection to your server, enabling you to execute commands and make changes to your VPS.
To connect to your VPS via SSH, launch PuTTY and type in your VPS IP address. A pop up will appear the first time you connect to your VPS from a device – click ‘Accept’ to proceed with the connection. Finally, you can enter your root username and password, which should have already been provided to you. You’re now connected to your Linux VPS and logged into your root account.
Alternatively, you can use the Terminal to establish an SSH connection because SSH works solely through a command-line interface. If you’re using a Unix-based OS like Linux or macOS, you can start connecting via Terminal by entering the following command:
ssh [root username]@[server IP]
Then, all you need to do is provide your login credentials to set up the connection.
4. Getting started with server management
An unmanaged VPS offers a lot of freedom, but it also means that you're the one who's responsible for managing your server. Server management refers to everything from keeping on top of updates to downloading any software you require. When you choose a Fasthosts VPS, any changes can be implemented from our Control Panel. You can also monitor resource usage, as well as boot, reboot, and shut down your server.
5. Updating your server
Since you’ll be managing your server on your own, it’s important to get to grips with updating it properly. Running outdated server software can make your VPS more vulnerable to security threats, and if you host a website on your VPS, this outdated software could compromise site visitors’ data. As Linux is the most popular OS for web hosting servers, we’ll look at how to update your Linux VPS below.
For popular Debian-based Linux distributions like Ubuntu, you should enter the following commands to look for and install all available updates:
apt update
apt upgrade
If you use CentOS or RHEL, these commands will look slightly different:
yum check-update or dnf check-update
yum update or dnf update
Once this process is complete, you should reboot your VPS with the reboot command, or by selecting the ‘Reboot’ option via your Fasthosts Control Panel. This will make sure that all updates have been installed correctly.
6. Create a new user with superuser privileges
SSH users can be assigned different privileges to control VPS administration and make it less likely for catastrophic errors to occur. So far, you’ve been setting up your VPS as the root user or administrator, which means you have complete control over your VPS. Full root access is very useful for making all of the changes you want, but the danger is that you could accidentally edit or delete something vital to your VPS.
The solution is to create a second user account with superuser privileges rather than unlimited root privileges. Superuser accounts can still make changes to the VPS, but there are controls in place to reduce risk. First of all, superusers must use the ‘sudo’ prefix to execute commands with full root privileges. In addition, when executing these commands, your VPS will ask for administrator login credentials. This will give you time to think about what you’re doing and will also make it harder for other people to make unwanted changes if they have access to your VPS.
To add a new user to your VPS, use the following command:
adduser [the new user’s username]
Then, you’ll need to add this user to the sudo group to grant the correct privileges:
usermod -aG sudo [the new user’s username]
Finally, you can create a password for this user account and log in with it after terminating your current SSH session.
7. Generate SSH keys
Next, you should focus on server security. You should already have a strong password, but to secure your SSH connection even further, we would recommend enabling public key authentication. This authenticates individual users with a public-private key pair, ensuring that no unauthorised parties can gain access to your VPS.
Windows
On a Windows VPS, you can easily generate these SSH keys through PuTTYgen, which should come pre-installed with PuTTY. In the PuTTYgen application, customise your key configuration and then click ‘Generate’ to generate both keys. Then, you can enter the key passphrase and click ‘Save private key’ to store the private key on your computer. You’ll then move the public key to your VPS by using the following commands from your root account:
mkdir ~/.ssh
chmod 700 ~/.ssh
nano ~/.ssh/authorized_key
This will create a folder for the public key, restrict its permissions, and open the authorized_key file with the Nano text editor, which you should install at the beginning of this process. Copy your public key from PuTTYgen and paste it into Nano. Press Ctrl + X to close Nano and press Y to accept the changes.
After this is done, you should use the following command to change the file’s permissions:
chmod 600 ~/.ssh/authorized_keys
Then use the exit command to complete the process. The next step is to set your key pair, which you can do via PuTTY’s main menu:
- Click on ‘Connection’, ‘SSH’ and then ‘Auth’.
- Go to the ‘Private key file for authentication’ field and select ‘Browse’.
- Select your new private key to set this key pair.
Finally, you need to disable your account’s password authentication mechanism. Use the following command:
sudo nano /etc/ssh/sshd_config
This will open the sshd_config file. All you need to do is change the Yes value to No in the PasswordAuthentication line. After rebooting your VPS, all of these changes should have been applied, which means you’ll be asked for a private key and passphrase to authenticate the SSH connection next time you connect.
Linux
Linux VPS users can use their built-in Terminal to generate SSH keys. To get started, open Terminal and enter the following command:
ssh-keygen -t ed25519
This message should then appear:
Generating public/private ed25519 key pair.
You’ll then be asked to choose a location to store your keys:
Enter file in which to save the key (/home/local_username/.ssh/id_ed25519):
Press enter to save them in the default /.ssh directory. Type in a different path if you want to save your keys in a different folder.
Next, you’ll be asked to enter a password to access your private key. You should enter a strong password to keep your VPS secure:
Enter passphrase (keep empty for no passphrase):
Once you’ve entered your password, the ssh-keygen command should now display the SSH key fingerprint and randomart image. It should also have created a public key and private key in the folder you specified.
8. Change the default SSH port
Another key security step is to change the default SSH port. This will protect your VPS against automated scripts that scan the internet to randomly hack servers.
SSH’s default listening port is Port 22, which you should see when connecting to your VPS. Use your root account and back up your SSH configuration file before beginning.
First, you should use the following commands to open the SSH configuration file and start editing it with your Nano text editor:
cp /etc/ssh/sshd_config /etc/ssh/sshd_config_old
nano /etc/ssh/sshd_config
Next, locate the line that says #Port 22. Delete the hashtag at the start and replace ‘22’ with any number between 1024 and 65535. Make sure you remember the port you chose so you can use it to log in.
Finally, save the file and restart your SSH connection so that the changes can be applied. You can do this with this command:
systemctl restart ssh
9. Configure a firewall
The final essential step in securing and setting up your VPS is to set up a firewall. Having a firewall means you can set rules to filter incoming and outgoing traffic, thus preventing hackers from using this traffic to launch an attack on your server. Most Linux distributions use a firewall called iptables, but Fasthosts customers can use their Control Panel to add new firewalls and configure firewall rules. To learn more about configuring VPS firewalls, read our article on adding a firewall policy for your dedicated server or virtual private server.
Once all of your basic security measures are in place, you’re ready to customise your VPS via your Control Panel to suit your individual needs. Whether you want to host a website, a gaming server, or even a test environment, you can configure the exact settings, resources and support you need with Fasthosts.
How long does it take to set up a VPS?
Setting up an unmanaged VPS usually takes around 20 minutes. This will depend upon the OS you choose, any other software or add-ons, and the server's capabilities. If this is your first time configuring a server, we'd recommend allowing more time to go through the process.
Looking to learn more about virtual private servers? Why not check out our blog on what a VPS can be used for, and discover more about this popular server option. We also offer 24/7 support for all of our products and services, so if you're ever in a pinch, our team will be there to help.