
Updated on 3 Feb 2025
An important part of web development is in testing. A developer could code what they think is a beautiful and functional web application, but once it gets handed over for testing there might be a whole load of unforeseen faults with it. That’s why it’s important to have a non-live test environment, where these bugs can be found and fixed before the website goes live to the public.
One way of building a local test environment is with XAMPP.
What is XAMPP?
XAMPP is a free and open-source software package that bundles in everything needed for developers to create local web servers for testing.
What does XAMPP stand for?
‘XAMPP’ is an acronym (or initialism – depending on whether you want to pronounce it as ‘Zamp’ or ‘ExAyEmPeePee’). But what exactly does XAMPP stand for?
X represents ‘Cross-platform’
Cross-platform functionality means that XAMPP works with Windows, macOS, or Linux operating systems.
A stands for Apache HTTP Server
Apache is the most popular web server, and Apache products power over half the internet. In XAMPP, Apache is the web server that is locally ‘hosting’ the web application and displaying it.
M stands for MariaDB
MariaDB is the relational database management system in XAMPP. A database stores any data collected or distributed on the web application. The ‘M’ used to stand for MySQL, but in November 2015, XAMPP developers replaced MySQL with MariaDB as its primary database application. MariaDB is an off-shoot of MySQL and has many of the same features, with a few improvements. Fortunately, this change had no effect on the ‘XAMPP’ abbreviation.
P stands for PHP
PHP is a server-side scripting language. It is the language behind some of the most popular websites on the internet (e.g. Facebook, WordPress) and works perfectly with MariaDB. This makes it an obvious choice as a component of an XAMPP server.
P stands for Perl
Perl is a dynamic programming language that is used in higher-level web applications, system administration and network programming. Although there is no official standard for the order of the Ps in the ‘XAMPP’ abbreviation, it’s commonly accepted for PHP to go first.
As such, the entire abbreviation can be written as ‘Cross-platform Apache HTTP Server, MariaDB (previously MySQL) PHP & Perl’. Catchy.
These components together in one package provide a developer with all the tools needed to host a local, offline test environment, without having to download and install everything individually.
How to install XAMPP
A XAMPP server can be downloaded from one single file, and installed with the help of an intuitive setup wizard. After some customisation and configuration of additional modules (like Tomcat, FileZilla and phpMyAdmin) the test server is ready to use. Here is a breakdown of the process:
Step 1
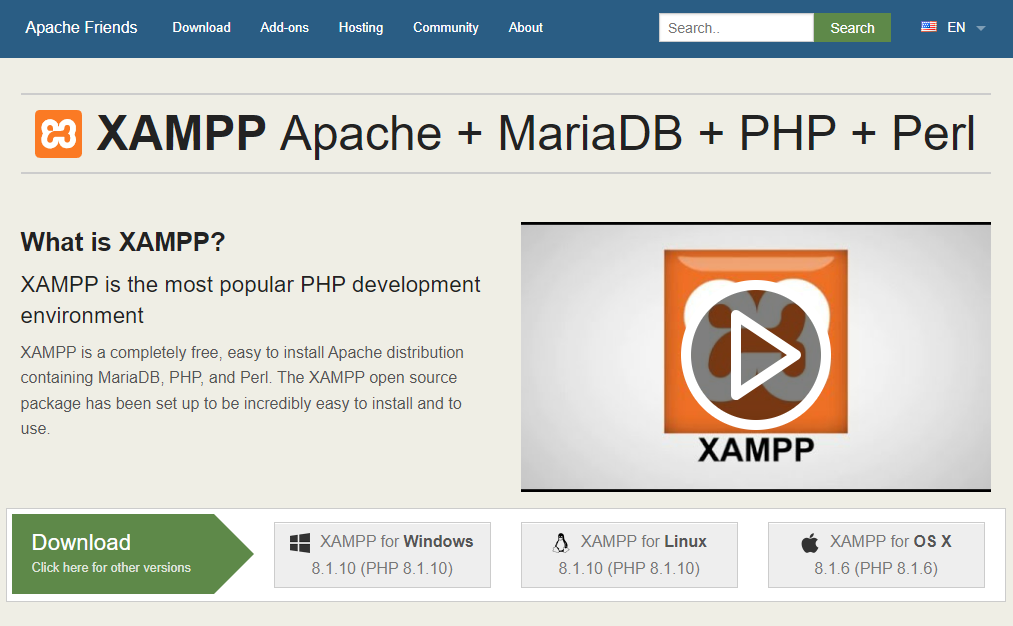
Download XAMPP from the Apache website, for free.
Step 2
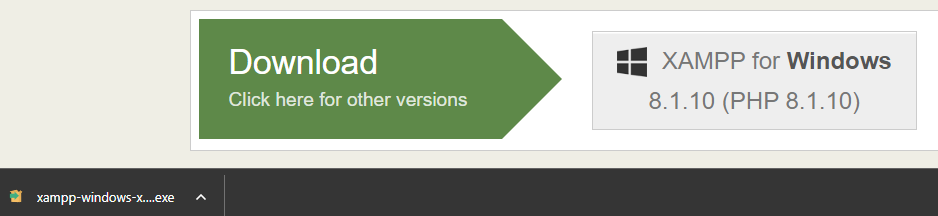
Begin the installation process of the software via the downloaded .exe file.
Step 3
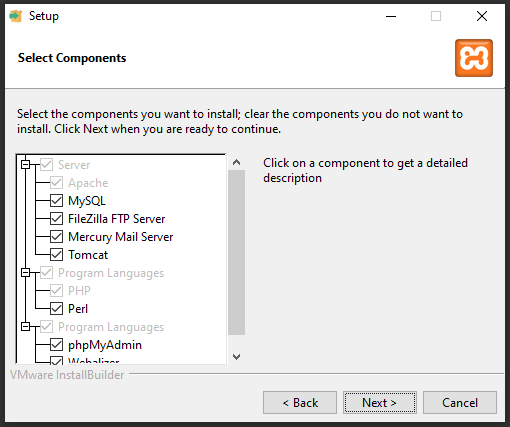
The first step of this process is to select the components you want to feature on your XAMPP. This can be done via the setup window.
Step 4
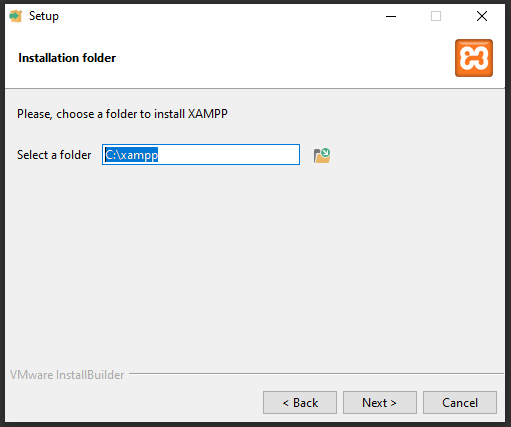
Next, you will be asked to choose a folder to install XAMPP into, using the default option will work fine. This is unless you have another designated folder for it in mind.
Step 5
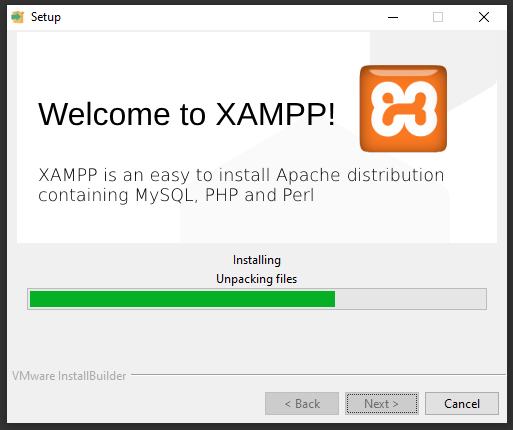
The setup wizard will then take care of the rest and begin your installation.
Step 6
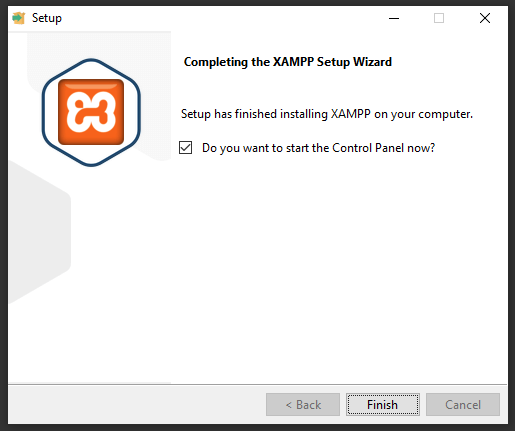
Press finish on the setup window and open the XAMPP software. You will then be shown the XAMPP Control Panel, which is where you control various aspects of your text server. Here are some descriptions to help you navigate the control panel:

Config: This will help to personalise the XAMPP and all of the extra components.
Netstat: View all of the processes that are currently running on your local machine.
Shell: Enables the UNIX shell to open.
Explorer: This will open the XAMPP folder via Windows Explorer.
Services: Display all services that are currently active behind the scenes.
Help: Provides links to helpful user forums.
Quit: Close the XAMPP control panel using this button.
Step 7
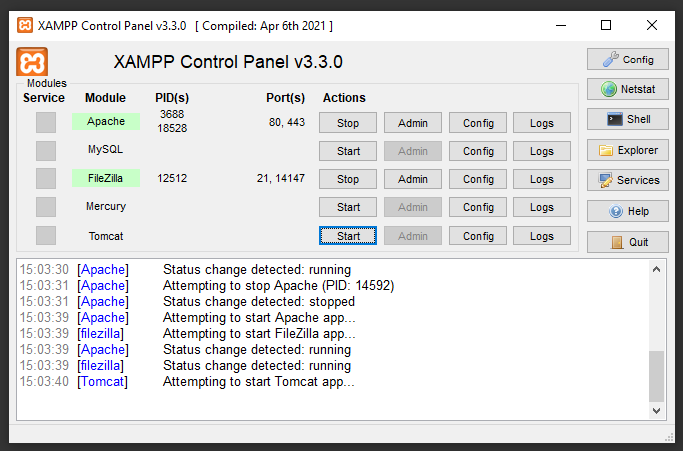
Click the required start buttons, found under the ‘Actions’ column, to initiate the modules. This will then highlight the modules in green.
Step 8
Now it’s time to get started with XAMPP on your localhost!
How to use XAMPP
From there, the developer can start a new project, insert their PHP or Perl code, and XAMPP will execute it and host it in a local test environment. This test environment is not connected to the internet, but can be accessed and shared with others for testing through FTP and localhost. This offline test environment means that if any bugs are found, they can be fixed before the code has been hosted on the live web server.
XAMPP or WAMP? XAMPP or LAMP? XAMPP or MAMP?
There are similar software packages to XAMPP that are platform specific. WAMP, LAMP, and MAMP do the same job for Windows, Linux and Mac operating systems respectively. The benefit and disadvantage of XAMPP is that it’s OS-agnostic. It’s a good thing that the package can be run across different platforms, but if a developer is only ever going to need to run it on a Linux environment, then there’s no point using XAMPP, when they only need LAMP. XAMPP consumes far more resources because of all of the additional components, and this higher consumption of resources tends to mean that using XAMPP is slower than LAMP, WAMP or MAMP.
After the website or application has been tested thoroughly in the XAMPP environment, it’s ready to go live. Visit our website for information on website hosting and next-generation Cloud Servers.