
Updated on 18 Apr 2023
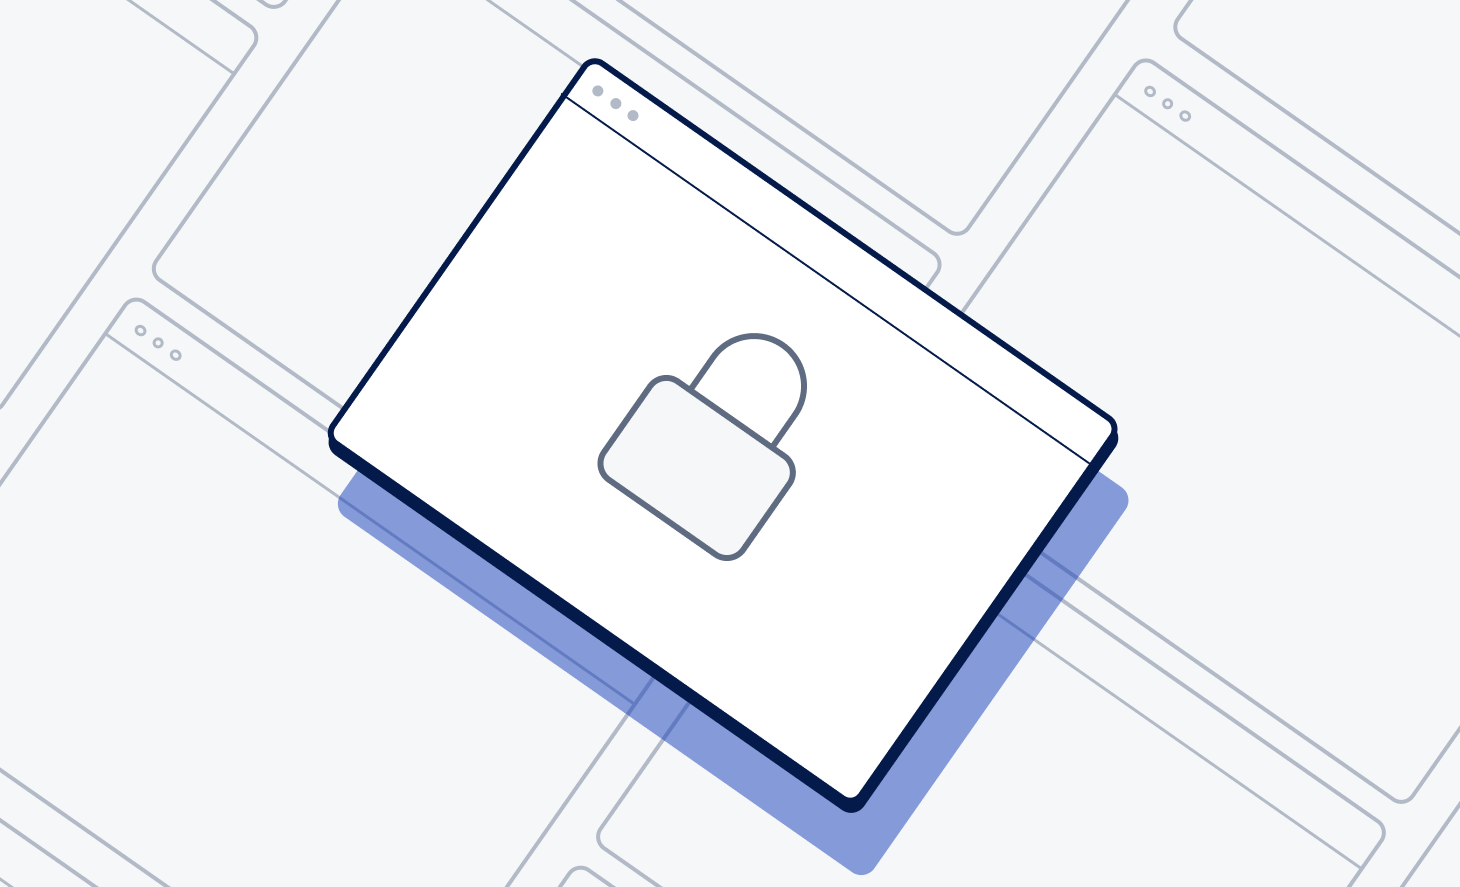
If you're looking for a VPS, security will be one of your biggest priorities when you’re getting set up. VPS hosting relies on the successful partition of a physical server into several private ones, via sophisticated virtualisation technology. It offers a lot of the same advantages as dedicated servers do — with the privacy, security and guaranteed resources that you just don’t get on a shared hosting plan.
So, how do you secure a VPS? There’s a handful of different measures you can put in place, and you’ll need to consider factors like server management, updates and patches, firewalls and more.
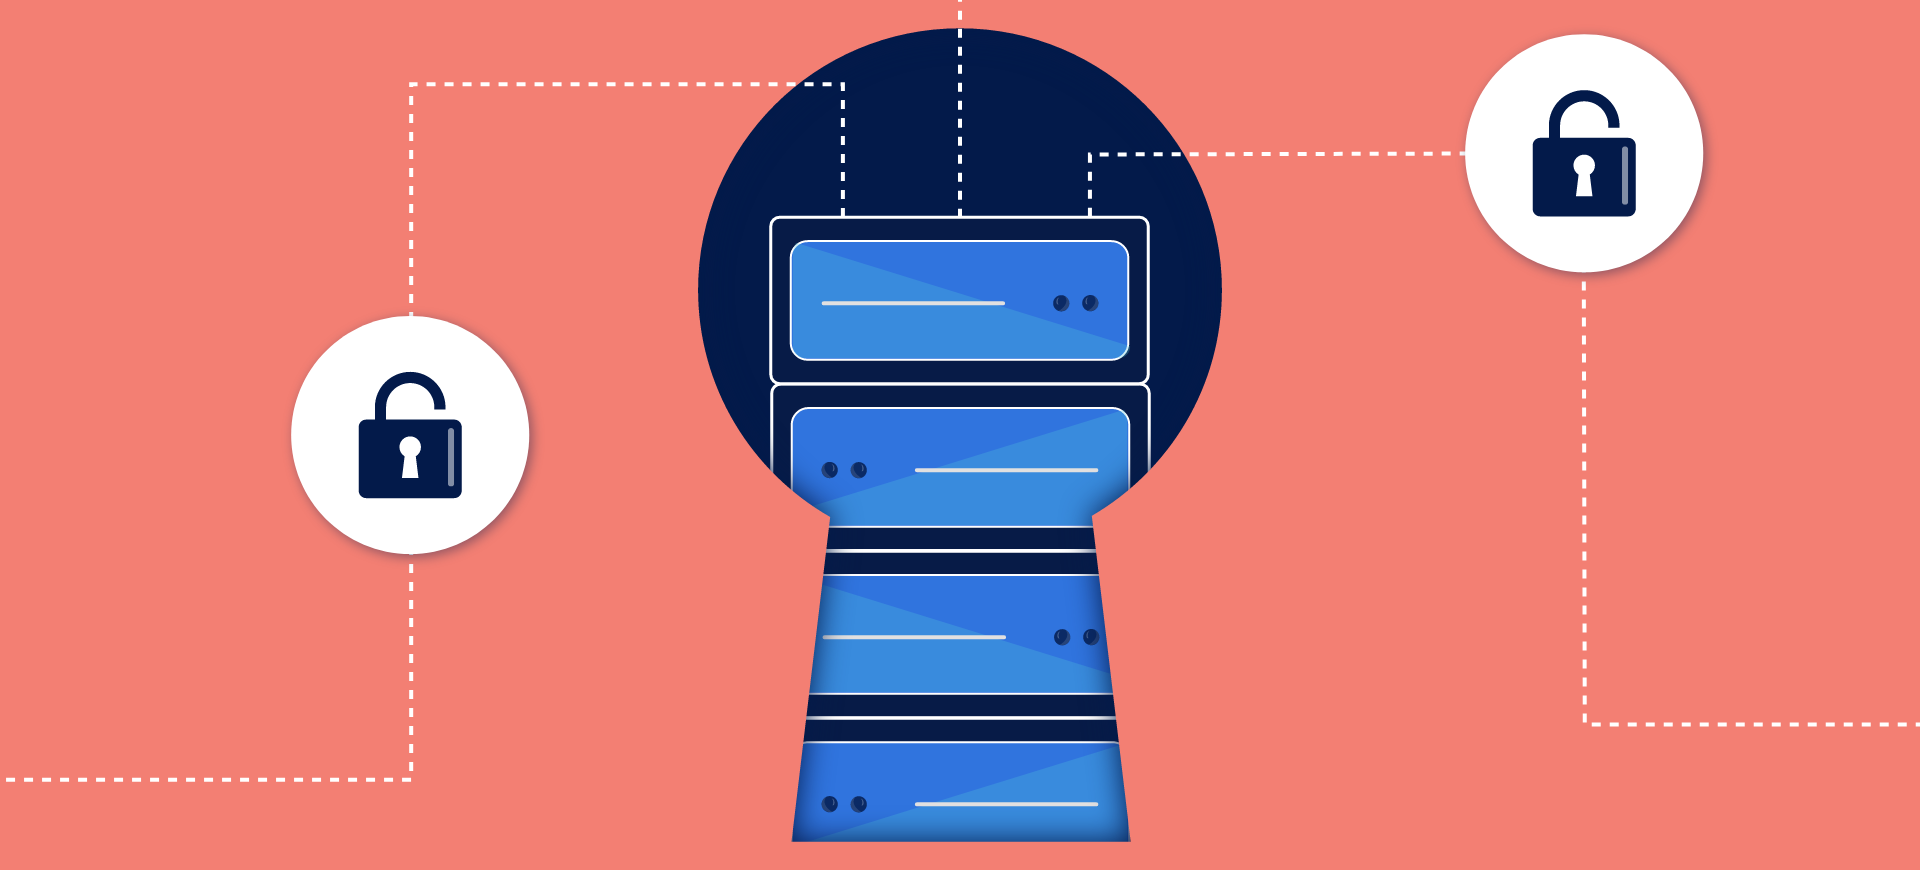
Why is security important for a VPS?
A VPS is one of the most secure hosting options on the market. It exists in its own independent environment, separated by virtualisation from the other guests on the physical server. But with malicious threats to cybersecurity getting more advanced by the day, it’s still crucial that you make an effort to protect your VPS however you can.
Nine steps to secure your VPS
Let’s take a look at some of the most important steps to take when it comes to securing your VPS. For the sake of this example, we’ll be using a Linux-based operating system, so keep that in mind when you’re reading our recommendations.
1. Set up a firewall
Firewalls give VPS servers the highest level of security available, so it’s well worth investing. With the right firewall, you can block any malicious traffic to your site before it has the chance to do any damage — think of them as a barrier between the public and your project. You can configure a firewall to observe specific rules in terms of what types of traffic you allow in and out of your server, reducing the chance of a cybersecurity breach.
There are lots to choose from, but the most common firewall solution for servers on Linux-based operating systems is iptables, which is a powerful tool that monitors ingoing and outgoing traffic, and enables you to set up certain routing rules.
2. Log in remotely with SSH
When you’re using a server remotely, the standard way of gaining access on a Linux OS is with SSH. Short for ‘secure shell’, SSH is a protocol that enables you to securely log on when you don’t have local access, by providing end-to-end encryption.
With SSH, there are two different methods of logging in — you can use the standard SSH 22 port login password or go for SSH-key authentication. Using the default password for SSH access can make your server vulnerable to “brute force” hacking, which is effectively a method where hackers use trial and error to crack your password. You can change this password to something unique, or you can consider taking your security one step further.
By contrast, SSH-key authentication issues a public and private key, and both of these are required to gain access to the server. These keys generally have far more characters, making them a lot less susceptible to brute force attacks, and it’s fairly simple to set up too.
3. Monitor user access
If your project involves lots of different people, who all need regular access to the server, then monitoring user access is key to maintaining the integrity of your VPS. As the user with full root access, you have the authority to adjust the permissions granted to other users on the system.
For context, Linux is a multi-user operating system, where you can create different users and groups, which are allocated different permissions and ownership. Thankfully, there are plenty of purpose-built tools designed specifically to help you simplify and manage things like file permissions and user access.
4. Always have a backup plan
Backups are a crucial part of your security setup for any type of hosting — not just on VPS servers! Whatever the nature of your project, the best way to protect (and guarantee access to) your data is to perform regular backups. If you’ve got a managed server, then it’s likely that you’ll have automatic backups running on a daily basis, but if you’re opted for unmanaged, you’ll need to organise these yourself.
Those with the necessary technical skills could attempt to script their own backups, but there are other, more straightforward solutions available. For example, our Acronis Cyber Protect packages come with advanced cyber protection features, including automatic backups and self-service granular recovery. So, be it the threat of malware or a physical power outage, your data is always safe.
5. Update your software
It sounds fairly obvious, but if you don’t use the latest software versions, you’ll leave your VPS server vulnerable to security threats. New software updates and patches are often released not only to improve performance, but to repair any discovered bugs and glitches that could compromise your server.
You can manually keep all software up to date by regularly running the relevant command line to check for any available upgrades. But if you’re worried about staying on top of this, you can choose a third-party security package (like our Advanced Management plan) which includes software and patch management as standard.
6. Consider an intrusion detection system
Even with a firewall, SSH-key access and tightly controlled user access, occasionally someone might breach your protective measures. An intrusion detection system (or IDS) is one way you can make sure you’ll be informed straight away if these measures fail.
An IDS makes a kind of baseline recording of your files and precise server configuration when they’re secure, and then runs regular checks to compare their current state with the existing records. If anything looks suspicious or inconsistent, the IDS you’re using will notify you immediately, so you can get a head start on tackling the security breach, and keeping your data safe.
7. FTP
Using FTP to transfer your files is a common method and used by many, however this can easily be intercepted by hackers. Why is this? Well, FTPs don’t use encryption software to protect your data, and this leaves you vulnerable to attacks. Instead, we recommend SFTP to be used on your VPS. SFTP is the combination of SSH and FTP, and this protocol ensures that any files or data transferred are fully encrypted and secure. This means that no hacker is getting their hands on your personal data.
8. Set up a VPN
In order to protect your personal information while browsing online, you may want to set up a VPN. You can either create your own VPN on your VPS, or add a secure, premade VPN such as NordVPN. We recommend that you pick a VPN very carefully – make sure to check that the company is trustworthy before downloading anything. The benefit of using a VPN is that your browsing habits and searches are encrypted and thus completely secure. A VPN will add an extra layer of protection on top of your other VPS security measures.
9. Regularly check VPS logs
Your virtual private server will keep logs of all of its activity, and these logs are useful when it comes to analysing the security of your VPS. If there has been any attempted attacks, or cyber security threats, it will have been logged. It is possible to access these logs from our Control Panel, and we recommend that you do this frequently. This will help you keep on top of your VPS' security.
Keeping your VPS server secure can be tricky, especially if you don’t have the technical knowledge to run complex lines of command. Luckily you can easily outsource your security concerns to a reputable hosting provider (*cough* like us). Check out our Cyber Protect packages for more information, or give us a call and speak to someone in our sales team directly.