
Updated on 16 Apr 2026
With the internet becoming a vital sales channel for any retail business, having a shop on your website is a no-brainer. But how do you create an online store? There’s an ever-expanding list of ways to build an online shop, with some being easier than others. If you’ve already got Website Builder and you’re thinking about setting up shop, look no further – you can get your ecommerce venture started in no time.
Why add an online store to your website?
Creating your own online store gives your business its own space on the internet where you can shout about your products. You can manage everything from product variations, search filters, shipping options, discount codes and what payments you want to accept. You can even easily import products with a .csv file, taking the hassle out of manually creating your product listings.
How do you add an online store to your website?
Adding an online store to your website might sound painfully complicated, but it’s surprisingly easy with Website Builder. If you’ve already got a Complete package with us, all you need to do is go into your Control Panel, edit your site and go through the following steps to set up your shop. If you don’t have Website Builder yet, or you have an Essential package, you can still get a simple online shop – all you need to do is either upgrade your current package or sign up for a new one.
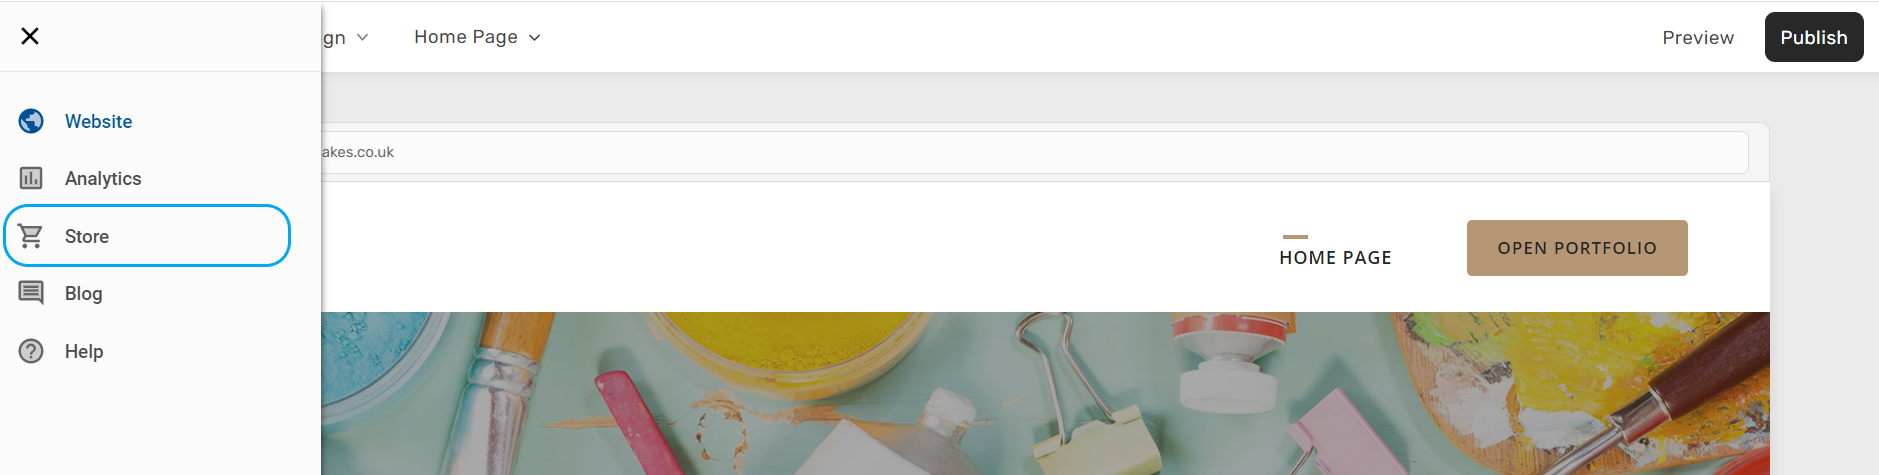
1. Set up your store
It sounds obvious but the first step is to set up your store. All you need to do is go into your website editor and click through to ‘Store’ in your menu.
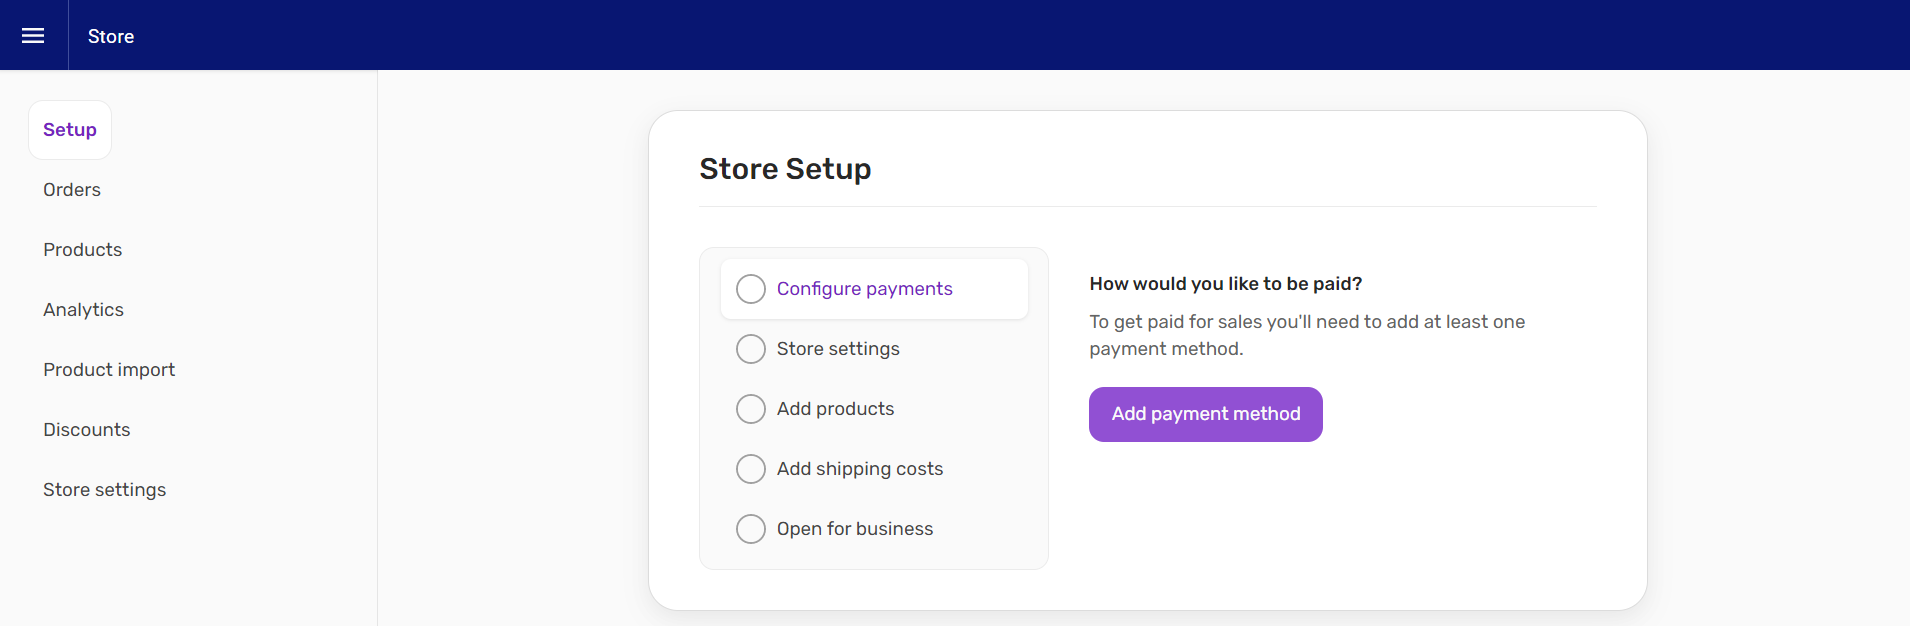
Once you’re in your store settings, simply follow the 5 steps to set store information, add payment methods (so customers can pay you), add products and outline shipping costs. Once you have all the basic settings sorted you can start looking at the more nitty-gritty bits.
2. Organise your products
The great thing about using Website Builder to add an online store to your site is that it also gives you the ability to categorise your products. You know how if you go on Argos’ site and you can click through to a page just full of computers? Yup, you can have that on your site too. Setting categories means that you can group your products, create ‘group’ pages and make it easier for visitors to find what they are looking for.
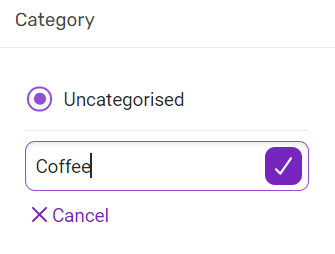
And with the use of tags you can also make it super simple for users to search your site and find relevant products. Add any number of tags to your products using any words or phrases you think people might use to search for something.

3. Integrate with Facebook
If you use the internet then you’ve heard of Facebook. Social media has become an invaluable tool for getting in front of both new and existing customers and has grown to become a new way to sell products. If you have a Facebook page for your business, you can set up a Facebook shop and make it effortless for users to browse through your listings and go through to checkout. And it gets easier (if you can believe it!). Using Website Builder, it’s a breeze to sync your online store with your Facebook shop using the ‘schedule feed’ setting.
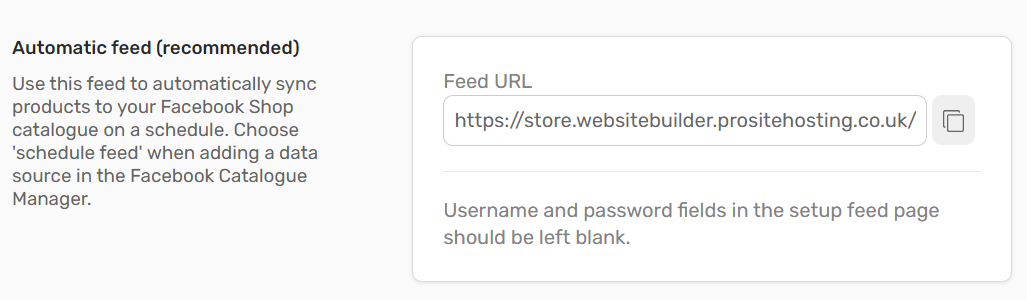
You’ve just got to use the link in your Website Builder store settings to bulk upload products and schedule how often you want it to sync your website to your Facebook shop.
4. Set up discount codes
Who doesn’t like a discount code? Everyone loves a good deal and discount codes are nearly irresistible to anyone shopping online. Within your store settings you can set them up in a cinch, ready to share around.
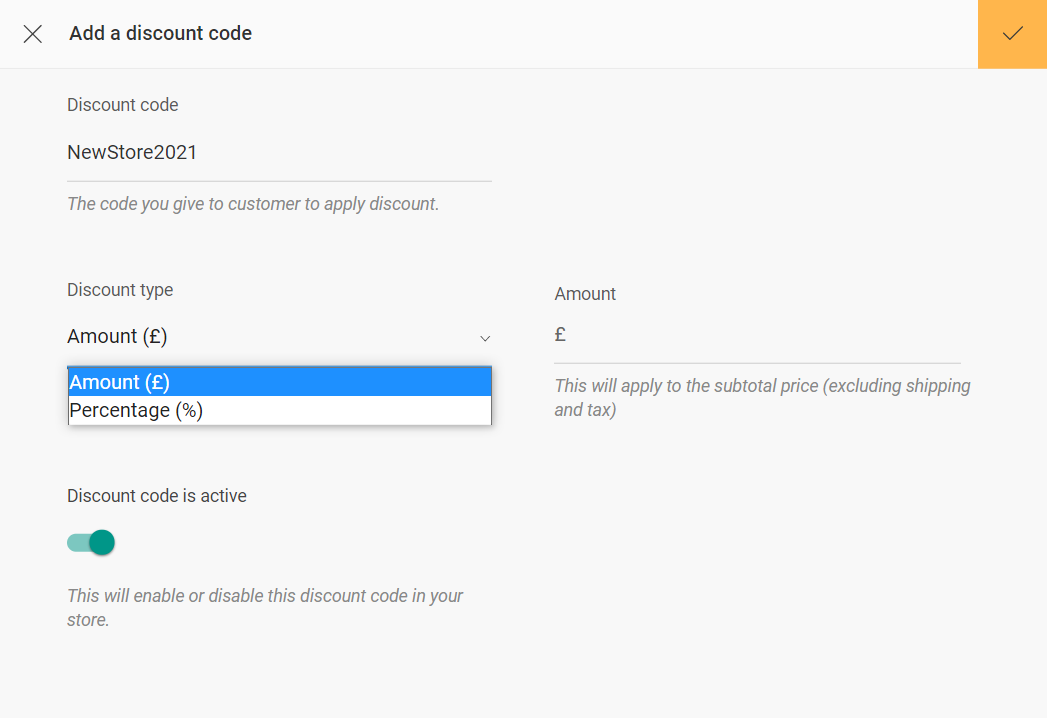
Simply click on ‘Discounts’ in the side menu then go to ‘Add a discount code’. In this popup you can choose what code customers need to enter to get their discount, how much of a discount they get and whether it’s a monetary or percentage discount. Then all you need to do is save and share your code to entice potential customers to spend money in your new online store.
What else can you do with your online store?
There’s still more that you can do with Website Builder’s store functionality. Here’s a quick look.
Look great on any device
For starters, it’s straightforward to preview what your shop will look like on different devices, including mobiles and tablets – it’s important that yours looks good on any sized screen. The good news is that Website Builder automatically optimises your design so that you can have a responsive site and store, no sweat.
Manage the important stuff
If you want to get into the financial side of things you can also manage the tax settings for your shop. You can set different tax rates for different shipping locations and you can choose whether you want to show tax-inclusive and tax-exclusive prices on your site.
Keep up with the stats
For any site owner it’s essential to keep an eye on how things are performing. Once your site has had some time to gather some numbers, you can get an in-depth look at how well your online store is performing. In your ‘analytics’ tab you can view detailed stats from how much revenue you’ve made to which products people are viewing most.
Thinking of adding a store to your site? Log in to your Control Panel and get set up in a jiffy. If you’ve currently got a Website Builder Essential package, don’t worry, you can easily upgrade and get access to your store settings. And if you don’t already have a Website Builder package, it takes only minutes to get you set up.
Website Builder gives you everything you need to get started with a great online store. If you’re looking for something more advanced that has even more features, Ecommerce Website Builder sounds like it would be the perfect fit for you. Ready to make your mark on the world of ecommerce? Consider a .store domain name.