
Updated on 2 Jun 2026
Every website needs hosting. It's what stores your files, serves them to visitors and keeps the whole thing running. The question most site owners end up asking isn't whether they need hosting, but which kind. If you've outgrown shared hosting or you're setting up a new project that needs proper control over its environment, a virtual private server is usually the answer.
This guide walks you through how to host a website on a VPS from start to finish. It covers what a VPS gives you, when hosting a website on a virtual server is worth the move from shared hosting, and the practical steps to get a site live on a Linux VPS or Windows VPS. By the end, you'll have a working server with a web server, a database, a domain and an SSL certificate all in place.
What is VPS web hosting?
If you're excited to get your website up and running but you're not sure which server to host it on, a VPS should be your first port of call. But what is VPS hosting, and how does it work in relation to hosting a website?
A VPS gives you your own virtual server space with resources that aren't shared with anyone else. Each user has their own dedicated CPU, RAM and SSD storage. That’s essential when you run a site that needs to handle traffic spikes, or when you want to run applications that need specific resources to perform properly.
With VPS hosting, you get your own server space with the power of a dedicated server at a fraction of the cost. You're still technically sharing a physical machine, but unlike shared hosting, your slice of it is fully isolated from other customers. You can customise it as you see fit and keep your resources to yourself.
A quick comparison of shared hosting vs VPS vs dedicated
Hosting a website comes down to three main options – shared, VPS or dedicated. All three put your site on a server somewhere. The difference is how much of that server is yours, how much control you get, and how much it costs.
For most people moving up from shared hosting, a VPS hits the balance between cost and control. For more on the trade-offs see our comparisons of shared hosting vs VPS and VPS vs dedicated servers.
Should you move from shared hosting to a VPS?
Are you currently hosting your website on a shared hosting plan? There's nothing inherently wrong with that, but shared hosting can become less viable over time, especially if your website grows.
A VPS can house thousands of visitors thanks to the resources it provides for both users and admins. So, if your site is experiencing more downtime, running slower as traffic increases, or your bounce rate is climbing as a result, it may be time to switch to a VPS.
If you're planning to add a shopping element to your site, a VPS provides far more security and data privacy than shared hosting because you're not sharing space with other hosting customers. That’s particularly important for keeping sensitive information safe and building trust with your customers.
Finally, think about the level of customisation you want. With shared hosting, the provider configures server settings for everyone on the box, so you don't have full control over the environment. That isn't a problem for hosting beginners, but if you want to directly manage resource allocation, updates and security settings, you'll need a VPS. Because your VPS is isolated from other customers, you get full root access to configure your own environment without affecting anyone else.
Shared hosting is still a fine choice for small personal blogs or projects that only need a limited amount of resources. It's cheaper and you don't have to think about server maintenance. But once you want to host your own website on terms you control (your software, your security, your resources) a VPS is usually the right next step.
Why host your website on a VPS?
If you're still weighing it up, here are some practical reasons people host websites on a VPS.
- It's cheaper than dedicated hosting. You get most of the benefits of a dedicated server without the price tag because you're renting a slice of a virtual machine rather than an entire physical one.
- Resources are scalable. You choose how much CPU, RAM and storage each site gets – your performance doesn't depend on what the site next door is doing.
- Better security. Full root access lets you set your own security rules, install SSL certificates, add a firewall and lock things down the way you want.
- Full customisation. When you host your own website on a VPS, you decide what runs on the server. Install the software you need. Add Plesk. Set up email hosting, backups, specific plugins. Whatever your sites use.
- Reliable uptime. VPS hosting is a popular choice because it holds up. Higher uptime means visitors stay on the site instead of bouncing on an error page.
What you'll need before you start
Before you start the setup, make sure you have:
- A VPS plan with root access (Linux) or Administrator access (Windows)
- The server's IP address, username and password from your provider's provisioning email
- A registered domain name
- An SSH client if you're on Windows and don't want to use the built-in one (optional)
If any of the login details are missing, ask your provider to resend them rather than guessing. Repeated failed logins can trigger a lockout.
How to host a website on a VPS
What follows assumes you've picked a VPS and your provider has sent you your login details. The examples use Linux with Ubuntu because that's the most common setup, but the same principles work on other distributions. Windows VPS users can follow along for the concepts, and we'll flag where the approach differs.
Step 1: Choose the right VPS
Before you set up a VPS to host your own website, picking the right plan is the foundation for everything that follows. These are the features you can expect from a quality VPS host:
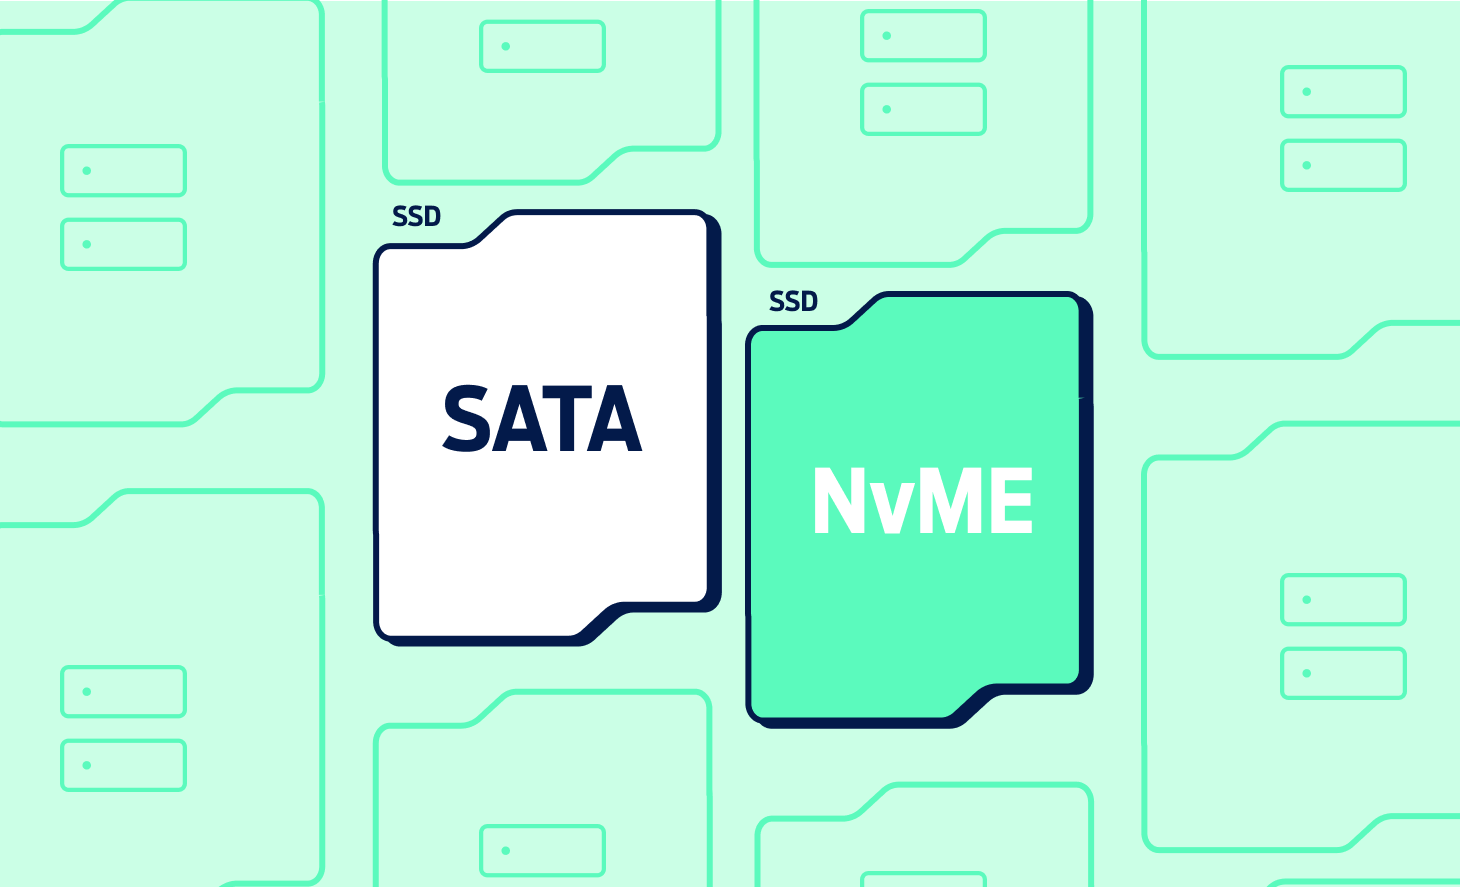
- Up to 16 vCPU cores, 64GB RAM and 1500GB NVMe storage
- Root or Administrator access for full control
- 99.999% uptime (see Fasthosts uptime for the current status)
- Hosted in ISO 27001-certified data centres
Step 2: Connect to your VPS
How you connect depends on your operating system. Linux VPS users connect over SSH from a terminal. Windows VPS users connect over Remote Desktop. Both methods take a couple of minutes once you have your provider's login details to hand.
Because the exact steps differ by operating system (and because we've covered them thoroughly already) the simplest thing is to follow our full guide to how to connect to a VPS. It walks through SSH and RDP from Windows, Mac and Linux, plus key authentication and common connection errors. Come back here once you're logged in.
Step 3: Set up your Linux environment
Once you're logged into your Linux VPS, spend a couple of minutes getting the server into a safe starting state before installing anything.
- Update your package lists. This makes sure you get the latest versions of everything you install next.
sudo apt update
sudo apt upgrade -y
- Create a non-root user. Running everything as root is risky. Create a separate user for day-to-day work and give it sudo privileges:
adduser yourname
usermod -aG sudo yourname
- Set up a basic firewall. Ubuntu comes with UFW. Allow SSH, HTTP and HTTPS, then enable it:
sudo ufw allow OpenSSH
sudo ufw allow 80
sudo ufw allow 443
sudo ufw enable
For a deeper look at securing your server, our VPS firewall guide covers the main options.
Step 4: Install a web server
A web server is the software that takes requests from browsers and serves your site's files. Apache and Nginx are the two standard choices. Apache is well-documented and a good starting point. Nginx handles high traffic loads well and is preferred for performance-heavy sites.
On Linux (Ubuntu or Debian), install Apache with:
sudo apt install apache2 -y
Or Nginx with:
sudo apt install nginx -y
Either one should start automatically after install. To confirm it's running, open a browser and visit your VPS IP address. You should see the default Apache or Nginx welcome page. If you don't, start the service manually:
sudo systemctl start apache2
Then enable it to start on boot:
sudo systemctl enable apache2
Replace apache2 with nginx if that's what you installed.
On Windows, the process uses the Apache Windows binaries and differs quite a bit from Linux. Download Apache from the official Apache HTTP Server site or ApacheHaus, extract it to a directory such as C:\Apache24, then install it as a service from Command Prompt (run as Administrator) with httpd.exe -k install followed by httpd.exe -k start. Visit http://localhost in a browser to check it's running.
Step 5: Install MySQL and create a database
Most content management systems, such as WordPress, Joomla, or Drupal, need a database. MySQL is the standard choice.
- Install MySQL:
sudo apt install mysql-server -y
- Lock it down. Run the built-in security script and follow the prompts. It sets a root password and removes insecure defaults.
sudo mysql_secure_installation
- Create a database and user for your site. Log in:
sudo mysql -u root
Then at the mysql> prompt:
CREATE DATABASE mysite;
CREATE USER 'siteuser'@'localhost' IDENTIFIED BY 'a-strong-password';
GRANT ALL PRIVILEGES ON mysite.* TO 'siteuser'@'localhost';
FLUSH PRIVILEGES;
EXIT;
Keep the database name, username and password somewhere safe. You'll need them when you install your CMS.
Step 6: Point your domain to your VPS
Your DNS tells the internet where to find your site. You need to point your domain name to your VPS IP address so visitors who type your domain land on your server instead of nowhere.
In your domain registrar's control panel, add an A record pointing your domain to the IPv4 address of your VPS. If your registrar uses custom nameservers, change them to point at your hosting provider's nameservers first. Changes usually propagate within a few hours but can take up to 48 hours. Our guide to DNS explains how the whole system fits together.
Step 7: Install WordPress or your chosen CMS
With the web server and database ready, you're at the part of hosting a website that most people think of first – installing the CMS. WordPress is the most common choice, so we'll use it as our example. If you're migrating an existing site, read our guide to transferring web hosting first.
- Install PHP and the WordPress extensions:
sudo apt install php php-mysql php-curl php-gd php-xml php-mbstring -y
- Download WordPress into your site directory:
cd /tmp
wget https://wordpress.org/latest.tar.gz
sudo tar -xvzf latest.tar.gz
sudo cp -r /tmp/wordpress/* /var/www/html/
- Visit your domain in a browser and follow the WordPress installation wizard. It'll ask for the database name, username and password you created in Step 5. Once you're through the wizard, you can log into the WordPress dashboard and start building the site.
Your VPS can also host Joomla, Drupal and most other PHP-based content management systems. The install process differs a little, but the principle is the same. You’ll upload the files, point the CMS at your database, and run the setup wizard.
Step 8: Secure your site with SSL
An SSL certificate encrypts traffic between your site and your visitors' browsers. It's essential for anything involving logins, payments or personal data, and Google now flags sites without one as not secure.
The easiest way to set one up on Linux is with Let's Encrypt and Certbot, which are both free.
For Apache:
sudo apt install certbot python3-certbot-apache -y
sudo certbot --apache
For Nginx:
sudo apt install certbot python3-certbot-nginx -y
sudo certbot --nginx
Certbot will ask which domain to secure, grab the certificate and update your web server config automatically. Certificates last 90 days and renew themselves via a background timer. For a fuller walkthrough, see our guide to how to install SSL on a VPS.
Step 9: Test your site
Once SSL is in place, visit your domain in a browser and check the site loads over https://. Click through the main pages, submit a form if you have one, and make sure images load and links resolve properly. If anything's broken, check your web server's error log (/var/log/apache2/error.log on Ubuntu Apache) for clues.
Frequently asked questions
How many websites can I host on a VPS?
A VPS can host many websites. In practice, you'll work around the RAM, CPU and SSD limits of your plan. Scaling up is straightforward with most providers, so you can add resources as you add sites.
Can I host a WordPress website on a VPS?
Yes. Your VPS can host websites powered by most major content management systems, including WordPress, Joomla and Drupal. WordPress is the most common choice and works on both Linux and Windows VPS setups, though Linux is more common.
Is a VPS good for website hosting?
Yes. A VPS offers dedicated resources, more privacy and more control than shared hosting, which usually means better speeds, better uptime and a smoother experience for visitors. It's also significantly cheaper than a dedicated server, which makes it the default choice for most small and growing businesses.
Do I need a control panel to host a website on a VPS?
A control panel isn't strictly required, but it makes life a lot easier, especially if you aren't technically inclined. Plesk Web Host Edition is a common choice and can be purchased and installed with all our VPS packages, except VPS Mini. It manages websites, email, SSL certificates and security settings through a graphical interface, and includes useful extras like SSL It! for certificate management and Restricted Access mode for controlling admin permissions.
For a wider look at the options, see our roundup of the best control panels for VPS management.
Compare VPS plans with Fasthosts
Your hosting setup affects everything. from page speed and uptime to how well your site handles traffic spikes. If you're reviewing your current provider or starting fresh, compare Fasthosts VPS plans to find one that fits your project, or talk to our support team if you have questions about getting started.